
Camping in style comes down to three upgrades: a comfortable sleep setup, a tidy and well-lit camp, and a few good-looking pieces that also work hard. You can pull it off in an afternoon of planning and one weekend of practice, and none of it requires expert skills or a luxury budget.
Here’s why it works. Comfort and style overlap more than most people expect. A thick sleeping pad does more for your trip than any gadget, and a warm string of lights beats a harsh headlamp glare at the picnic table. Neutral tones, quality fabrics, and a camp that’s organized rather than scattered all look better and feel better after a long day outside.
Think of it as selecting gear by what it does for you, such as insulation, weather protection, and packability, instead of chasing trends. We’ll cover what to bring, the safety checks that matter, the setup order that saves you time, and how to confirm everything works before you commit to a full night out. Beginners can follow each step in order. Experienced campers can skim for upgrades.
What ‘Camping in Style’ Really Means (and How to Plan for It)
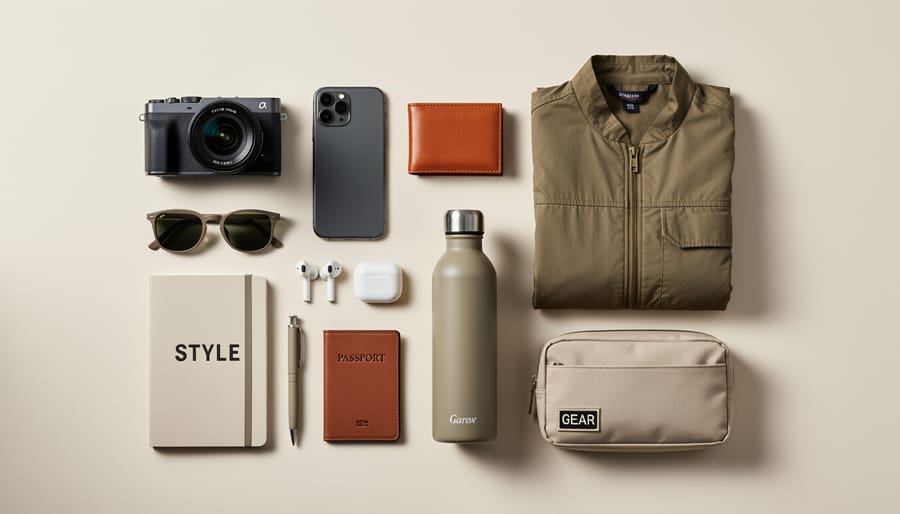
Stylish camping isn’t about spending the most money. It comes down to three things working together.
The first is comfort: a bed you actually sleep well on, somewhere good to sit, and food that doesn’t feel like an afterthought. The second is cohesion, which just means the campsite feels pulled together. A few matching colors, warm lighting, and a tidy layout do more than expensive gear ever will. The third is practicality. If an item looks great but fails in the rain or takes 20 minutes to set up, it isn’t earning its place.
The trick is to make these choices while you’re planning, not while you’re standing in a parking lot with a half-packed car. Start by picking your camp type, because it sets your limits. Car camping gives you the most room for style, since you can bring real chairs, a rug, and a proper lantern. A short backpacking trip or a bikepacking overnight is a different story. There, every ounce counts, so your upgrades need to be compact, like a lightweight pillow, a packable lantern, or one nice enamel mug.
Next, set a comfort-versus-weight budget. Decide how much space and carrying capacity you’re willing to give up for comfort, and rank your priorities. If sleep matters most, spend your weight allowance there first. Then factor in the site, the season, and your group size. Cold shoulder-season nights call for a warmer sleep setup, while a bigger group needs more seating and a bigger kitchen footprint.
If you’re heading farther from the car, make sure your core kit is sorted before you add extras. Our guide to the hiking essentials is a good place to confirm you’ve covered the basics.
Tools and Materials: The Gear That Makes a Campsite Comfortable and Stylish
Shelter and Sleep Setup: The Foundation of Comfort
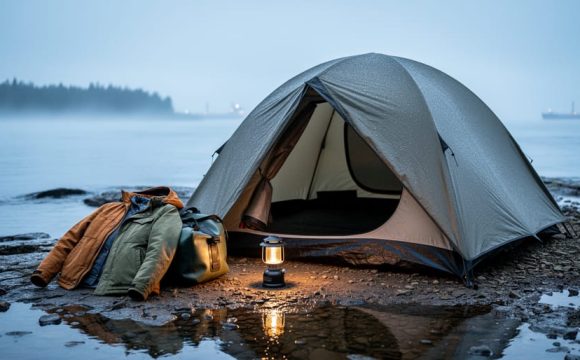
Start with the tent, and size up. A “3-person” tent fits three sleepers shoulder to shoulder, so a two-person group gets real breathing room, and car campers can happily go even bigger. Lay a footprint or groundsheet under it to protect the floor from abrasion and moisture.
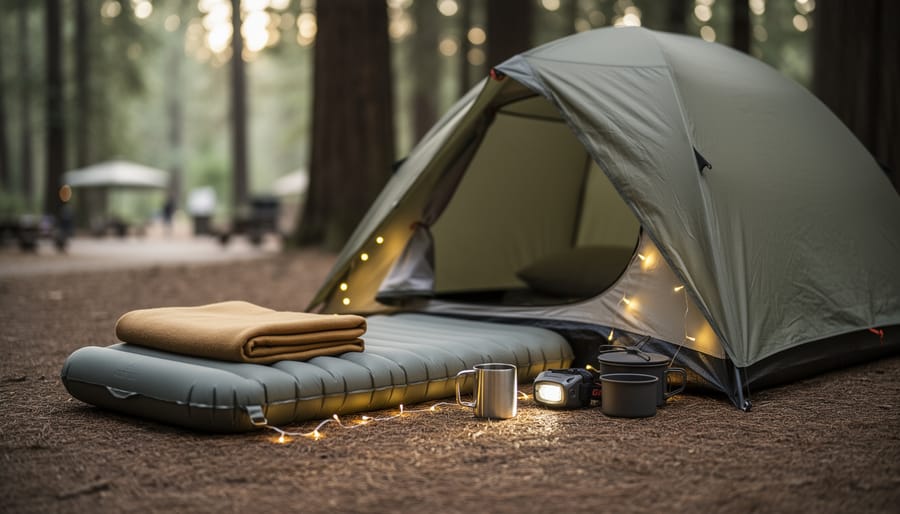
Next, the sleeping pad. R-value is simply a pad’s resistance to ground cold; a rating around 2 suits summer, while 4 or higher handles cool nights. Pair it with real bedding, like a favorite blanket and a proper pillow, and the whole tent feels like a bedroom.
Finish with a small outdoor rug or mat at the entrance. It keeps dirt out and makes the doorway feel welcoming.
Heading out on foot or by bike? Trim down to a snug tent, a lightweight pad, and a compressible pillow.
Camp Furniture, Lighting, and Kitchen Touches
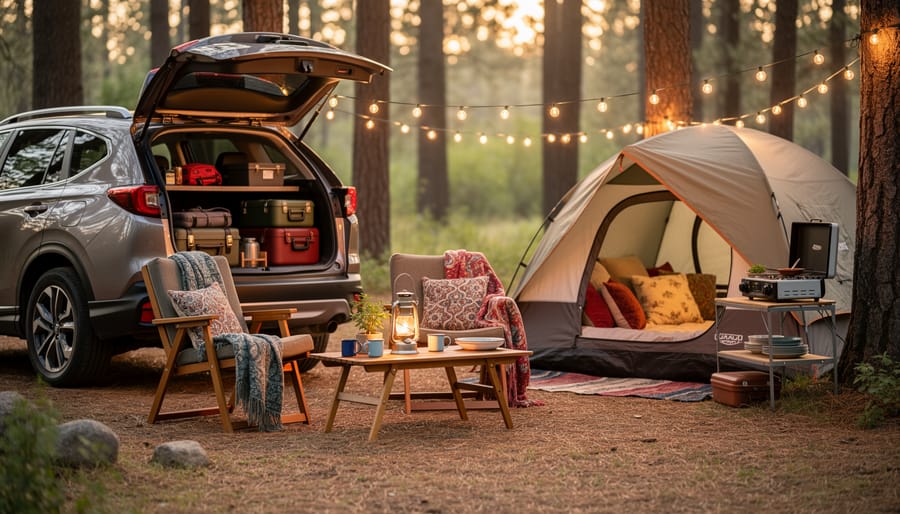
Furniture sets the tone for your whole camp, so pick pieces that fold flat and do double duty. A low-slung camp chair with a sturdy frame and a small roll-top table give you a proper lounge and prep zone without eating up trunk space. For backpacking, a lightweight stool is plenty.
Lighting is where style really shows. Choose warm-toned lanterns and string lights over harsh blue-white ones. Lumens simply measure brightness: around 100 to 200 suits a cozy table glow, while a few hundred is better for cooking.
Keep colors cohesive, say earthy greens, tans, and one accent shade, so everything looks pulled together. Swap disposable plates for enamel or reusable dishware, which looks great and lasts for years.
Finally, tidy the kitchen with a stable two-burner stove, a lidded bin for utensils, and a small wash basin. Every item should earn its pack space.
Safety Warnings Before You Add the Extras
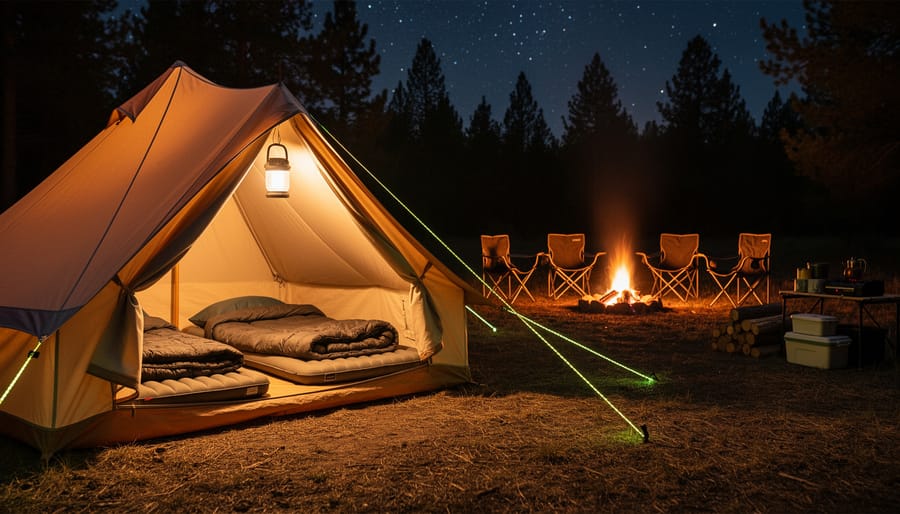
A good-looking campsite is only a good campsite if everyone goes home happy and unhurt, so run through these checks before you add the extras.
Start with fire. Rules change by region and season, and bans can appear with little notice, so check your land manager’s website or ranger station before you leave. If fires are allowed, use established rings, keep water nearby, and never leave flames unattended.
For cooking, keep your stove outside and on stable ground, away from tent fabric, and read up on rechaud stove safety if you’re using that style of burner.
String lights look lovely, but treat them like any outdoor electrical gear. Use outdoor-rated sets, keep cords and connections off wet ground, and route them above head height so nobody trips in the dark.
Wildlife counts as a safety issue too. Store food, trash, and scented items in a locked vehicle or an approved bear canister or box, never in your tent, and follow local guidance on what to expect in the area.
Finally, check the forecast before you go and again on arrival. Stake tents and canopies firmly, and take canopies down if the wind picks up. Pack up and seek shelter in a vehicle or sturdy building if you hear thunder or face high winds or severe heat. Style can wait; safety can’t.
Step-by-Step: Planning and Setting Up Your Stylish Campsite
Before You Leave: Plan, Practice, and Pack Smart
Start with the trip itself. Decide whether you’re car camping, hiking in, or bikepacking, then pick a campsite that fits. Check the amenities, the site size, and how exposed it is to wind. A shady, sheltered pitch beats a pretty but windswept one every time.
Next, build your gear list around your comfort priorities. Sleep, seating, and food usually come first. Write everything down, then cut anything you can’t justify carrying. If a stylish item doesn’t earn its pack space, leave it home.
Before you go, set up your tent and test your lights in the backyard or living room. You’ll spot missing stakes, tangled guy lines, and dead batteries while it still costs you nothing. It also makes the real pitch feel calm instead of frantic.
Finally, pack in reverse order of use. Shelter and a headlamp go in last, so they come out first. Bedding, lanterns, and the kitchen box follow. That way you can get the tent up before dark, then add the finishing touches.
At the Campsite: Layout Tips That Look Good and Work Well
Before you unpack anything, walk the pitch. Look for level ground, check for low spots where rain will pool, and note which way the wind is coming from. If you’re still choosing where to camp, our guide to site selection covers what to look for before you arrive.
Next, think in zones. Put your tent on the flattest, most sheltered patch, with the door facing away from the wind. Keep the cook area a few steps downwind from your sleeping space, so food smells and stove heat stay away from the tent. The lounge area goes wherever the view or the evening light is best.
Then let the furniture and lighting connect the zones. Angle your chairs toward each other (or toward the view) rather than lining them up in a row. Hang string lights at the edge of the lounge area, and use a warm lantern on the table. Leave a clear path between zones, so nobody trips over a cord at night. Even a tiny setup looks intentional when each corner has a job.
Checking Your Setup and Planning Your Next Trip
Once everything is up, do a slow lap of your campsite before you relax. It takes five minutes and catches most problems early.
- Stability: stakes are fully seated, guy lines are tight, and the tent door zips without strain.
- Sleep comfort: pad is level, bedding is dry, and nothing pokes you from underneath.
- Lighting safety: cords are clear of walkways and water, and no fuel-burning lantern sits inside the tent.
- Food storage: food and scented items are sealed and stored according to local wildlife rules.
- Next time: sort gear into keep, swap, or leave home.
That last item is where the real learning happens. After the trip, unpack and note what you actually used, what stayed buried in the bag, and what you wished you’d brought. Items that went untouched are strong candidates to drop, which frees up space and weight for the upgrades that earn their spot.
Keep these notes somewhere simple, like a phone note or a page in your gear bin, and add to it each outing. Your next round of Camping Trip Planning will start from real experience instead of guesswork. If you camp with kids, our family gear picks can help you decide what to swap in.
Common Questions About Camping in Style
Here are quick answers to the questions campers ask most about getting a polished, comfortable campsite without overcomplicating things.
How do I camp in style on a budget?
Spend on the things that affect comfort most, like a good sleeping pad and a supportive chair, then style the rest with what you already own. A consistent color palette, a simple rug, and warm lighting make even basic gear look intentional.
How do I keep style items light for bikepacking or hiking in?
Choose multi-use pieces and compact versions: a packable seat pad instead of a chair, a small lantern instead of string lights, and a lightweight pillow. If an item doesn’t earn its pack space, leave it home.
What are the most worthwhile upgrades for beginners?
Start with sleep and seating. A properly insulated pad (check its R-value, which measures warmth) and a comfortable chair do more for your trip than any decor.
How do I keep a stylish campsite tidy in bad weather?
Give everything a home before the rain hits: bins with lids, a tarp-covered gear zone, and a mat at the tent door for muddy boots. Pack away anything you won’t use that day so the camp stays clear.
As for the difference between stylish camping and glamping, it mostly comes down to effort and expense. Stylish camping is about making a regular camp feel comfortable and cohesive with gear you carry yourself, while glamping usually means pre-built or fully furnished accommodation set up for you.
Camping in style isn’t about the biggest budget or the fanciest gear. It comes from planning: deciding what comfort means to you, choosing gear that earns its place, and testing your setup before the trip so the campsite feels easy once you arrive.
You don’t need to overhaul everything at once. Pick one or two upgrades that matter most to you, maybe a better sleeping pad or warm lighting for the evenings, and see how they feel on your next trip. Jot down what worked, what stayed in the bag, and what you’d change.
Over a few trips, those small notes add up to a campsite that feels like yours. When you’re ready to choose new gear, browse our gear reviews and comparisons to find options that fit your trip style and pack space. Happy camping!