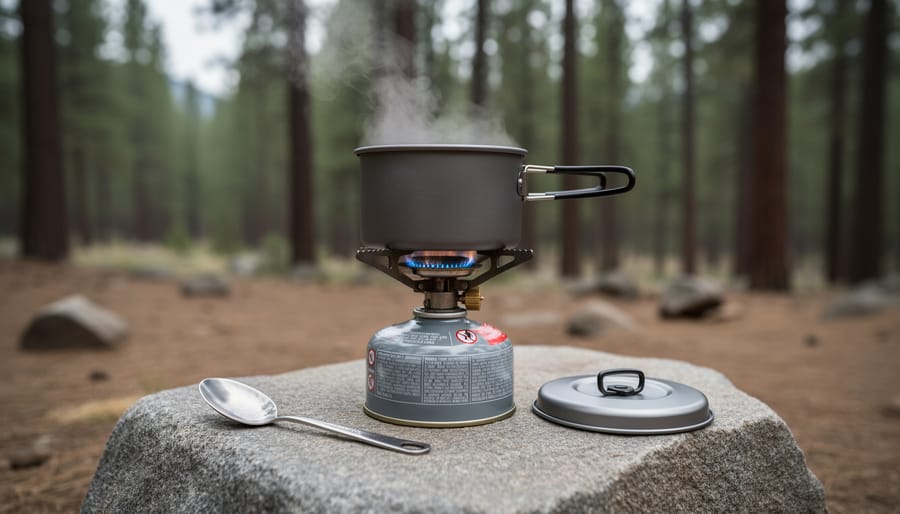

A réchaud camping is a portable camping stove designed to heat food and boil water in the backcountry, and choosing the right one comes down to matching fuel type, burner power, and portability to your specific trip needs. Whether you’re weekend car camping or embarking on a multi-day backpacking adventure, these compact stoves have become essential gear for outdoor cooking. The term “réchaud” simply means stove in French, but in camping circles it refers specifically to portable burners that run on gas canisters, liquid fuel, or alternative sources like wood or alcohol.
Getting started with a camping stove isn’t complicated, but understanding the basics before you head into the wilderness saves frustration at the trailhead. Most modern réchauds can boil a liter of water in under five minutes, making them efficient tools for everything from morning coffee to dehydrated dinners. The learning curve is gentle for beginners, though mastering wind protection and fuel efficiency takes some practice alongside other camp setup tips. This guide walks through selecting the right stove for your needs, setting it up safely, and using it effectively in various outdoor conditions.
What You’ll Need: Essential Gear and Materials
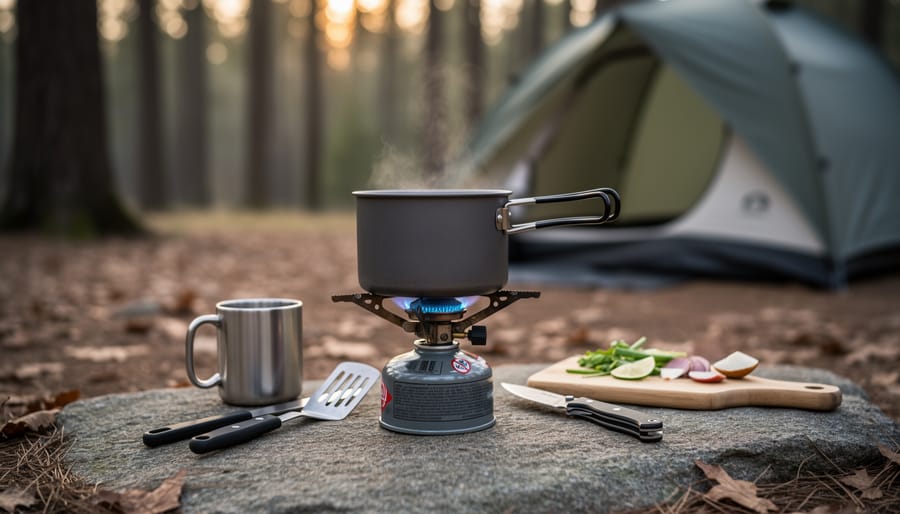
Before you head out on your next camping adventure, gathering the right equipment ensures your réchaud works safely and efficiently. Having everything on hand prevents frustration at the campsite and lets you focus on enjoying the outdoors rather than improvising solutions.
Here’s what you need to pack alongside your other camping essentials:
- Camping réchaud (portable stove) suited to your trip type
- Appropriate fuel supply with at least 20% extra for your planned cooking needs
- Compatible cookware with flat, stable bases that won’t tip easily
- Windscreen or heat reflector to protect the flame and improve efficiency
- Reliable lighter or waterproof matches in a protective case
- Heat-resistant surface or stove base pad for uneven ground
- Pot gripper or heat-resistant gloves for handling hot cookware
- Small cleaning cloth and basic maintenance tools if using liquid fuel models
Your cookware matters more than you might think. Pots with dark, non-reflective bottoms absorb heat faster than shiny aluminum ones, cutting cooking time and fuel consumption. Look for sets with folding handles or nesting designs that pack efficiently without adding bulk to your gear load.
A windscreen deserves special attention because even a light breeze can double your fuel use or prevent water from boiling altogether. Many stoves include integrated wind protection, but a separate windscreen offers better coverage. Just make sure it doesn’t wrap too tightly around gas canisters, which need airflow to prevent dangerous pressure buildup.
Keep spare O-rings and a fuel line repair kit if you’re using a liquid fuel stove for trips longer than a weekend. These small components weigh almost nothing but can save your entire cooking setup if something fails. Store them in a small ziplock bag taped to your fuel bottle so they’re always where you need them.
Safety First: Critical Warnings and Precautions
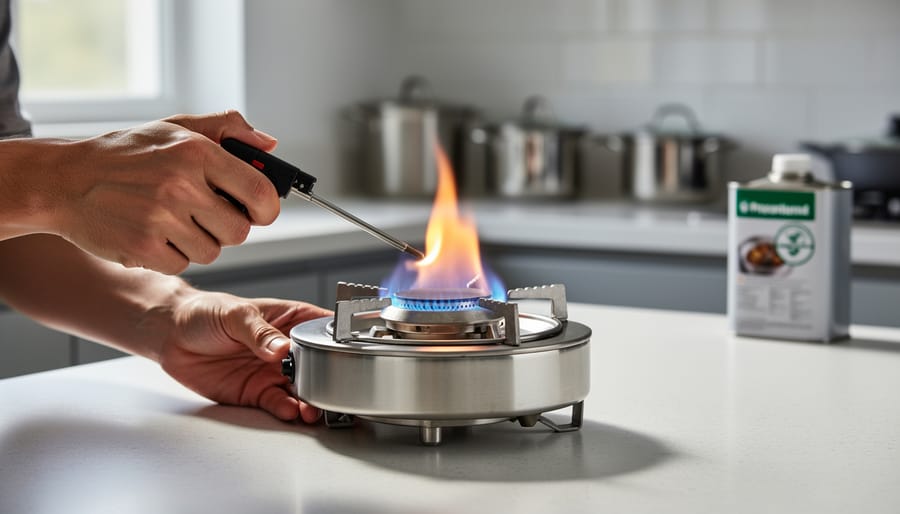
Before you strike that first match, understand that a camping stove demands respect. The convenience of backcountry cooking comes with real risks if you ignore basic safety protocols.
Carbon monoxide is odorless and colorless, making it impossible to detect without proper ventilation. Even a small camping stove produces enough CO to cause dizziness, nausea, or death in an enclosed space. Always cook outdoors or in well-ventilated areas with multiple openings for air circulation. If weather forces you under cover, set up near wide-open doorways or vestibules where fresh air flows freely.
Store fuel canisters upright in a cool, shaded location away from your sleeping area. Heat causes pressure buildup inside containers, and a leaking canister near your tent creates an explosion hazard. Keep fuel at least three meters from any flame source, and never store partially-used canisters in hot cars or direct sunlight. Check connections for damage before each trip, cracked seals or dented threads can cause dangerous leaks.
Clear a two-meter radius around your cooking area, removing dry grass, leaves, pine needles, and overhanging branches. A gust of wind can tip your pot, sending flaming fuel across combustible material faster than you can react. Place your réchaud on stable, level ground, never on stumps, rocks, or uneven surfaces where it might tip. Keep a water bottle or fire extinguisher within arm’s reach.
Wind creates two problems: it reduces heating efficiency and can blow flames toward fuel lines or flammable gear. A lightweight windscreen protects your flame and conserves fuel, but ensure it doesn’t block ventilation or create an enclosed space where CO accumulates.
Choosing the Right Réchaud for Your Trip
Fuel Types Explained
Gas canisters (butane, propane, or isobutane blends) dominate the market because they’re convenient, twist on a canister, turn a valve, and you’re cooking in seconds. They deliver consistent heat, work well in most three-season conditions, and require almost no maintenance. The trade-off is performance: pure butane struggles below freezing, though isobutane blends handle cold better. Canisters are also single-use in many regions, creating waste, and you can’t gauge remaining fuel without weighing them.
Liquid fuel stoves (white gas, kerosene, or unleaded gasoline) excel in extreme cold and high altitude where gas canisters falter. They’re refillable, making them economical for long trips, and fuel is widely available worldwide. However, they demand priming, pumping, and occasional cleaning, more steps than beginners might want. Reading camp stove reviews helps clarify which models handle maintenance demands best.
Alcohol stoves are ultralight and silent, appealing to minimalist hikers. They burn denatured alcohol or methylated spirits, both inexpensive and easy to find. The downside: low heat output means slower cooking, and wind protection is essential. They’re ideal for boiling water, less so for simmering meals.
Solid fuel tablets (hexamine or similar) are compact emergency backups. They light easily and weigh almost nothing, but burn slowly, produce soot, and leave residue on cookware. Use them when you need absolute simplicity and can tolerate modest performance.
Matching Stove Size to Your Needs
The right stove size depends on how many people you’re feeding and what you’re cooking. A solo backpacker needs far less burner power than a group of four planning hot breakfasts and multi-course dinners.
For one or two campers cooking simple meals like instant noodles or rehydrated freeze-dried food, a compact single-burner stove with 7,000 to 9,000 BTU output works perfectly. These lightweight options boil a litre of water in four to six minutes, which covers most basic needs without adding unnecessary weight to your pack.
Groups of three to four need stoves pushing 10,000 to 12,000 BTU or a dual-burner setup. This extra power handles larger pots, reduces cooking time when you’re hungry after a long hike, and prevents frustration when simmering sauces or cooking rice. If you’re planning meals that require two pots simultaneously, say, pasta and sauce, a two-burner stove eliminates the juggling act.
For families with young children who need consistent hot meals throughout the day, consider browsing comprehensive family camping gear that includes higher-capacity stoves with stable bases and wider burner spacing for safety.
Think about your typical menu too. Boiling water requires less sustained heat than frying eggs or making pancakes. If you plan elaborate cooking, prioritise stoves with adjustable flame control rather than just maximum output. A 15,000 BTU stove that can’t simmer gently wastes fuel and burns food.
Step-by-Step: Setting Up and Using Your Réchaud
Pick a flat, stable spot for your réchaud, ideally sheltered from wind but with good air circulation. Clear away any dry grass, leaves, or other flammable debris within a metre of where you’ll place the stove. Uneven ground can cause instability and spills, so take an extra moment to create a level surface or use a small platform if needed.
- Inspect your réchaud and fuel canister for any damage, cracks, or worn O-rings before connecting anything. Check that all vents are clear of debris.
- Attach the fuel canister by threading it clockwise into the stove’s valve connection. For screw-top canisters, tighten hand-firm until you feel resistance, never force it or over-tighten. For bayonet-style connections, align and twist according to manufacturer markings. You should hear a slight hiss as the seal forms, then silence once secure.
- Position your windscreen around the stove if using one, leaving gaps for air intake. Never fully enclose a gas stove, as this creates a dangerous build-up of heat and pressure.
- Open the fuel valve slowly, listening for the hiss of gas flow. If using a liquid fuel stove, pump the fuel bottle to build pressure according to your model’s specifications, typically 20-30 strokes.
- Ignite the burner immediately after opening the valve. Use a long lighter or matches, keeping your face and hands to the side, not directly above the burner. The flame should ignite within two seconds. If it doesn’t catch immediately, close the valve, wait 30 seconds for any gas to dissipate, then try again.
- Adjust the flame to your desired heat level. A blue flame indicates efficient combustion, ideal for most cooking. Yellow or orange flames suggest incomplete burning, which wastes fuel and produces more soot. Dial it back slightly if you see yellow.
- Place your cookware on the burner only after the flame is stable. Ensure pots sit securely on the pot supports and won’t tip if stirred. For easy camp meals a medium flame typically suffices, reserve high heat for boiling water.
- Monitor your cooking and never leave the stove unattended. Keep the fuel canister cool by shielding it from direct radiant heat, especially when using reflectors or in enclosed spaces.
- When finished cooking, turn off the fuel valve completely. Wait for the flame to extinguish fully, residual fuel in the line may keep it burning for several seconds.
- Allow everything to cool for at least 10 minutes before disconnecting the fuel canister or packing up. Touch-test the burner head and canister connection point before handling.
After cooling, disconnect the fuel canister by reversing the attachment process. Store fuel separately from the stove body to prevent accidental valve opening during transport. Wipe down the burner head to remove any food splatter or residue while components are still slightly warm, dried-on debris becomes much harder to clean later. If you’ve used liquid fuel, release any remaining pressure from the fuel bottle before packing it away.
Testing and Verification: Ensuring Everything Works
Before heading into the backcountry, test your réchaud at home where problems are easy to fix. Start by checking all connections between the fuel source and burner, spray soapy water around joints and watch for bubbles that indicate escaping gas. Even a small leak wastes fuel and creates a fire hazard.
Light the stove and observe the flame colour. A healthy flame burns blue with minimal yellow flickering. Persistent yellow or orange flames suggest incomplete combustion, often caused by clogged jets or incorrect fuel pressure. Listen for unusual hissing or sputtering sounds that point to blockages or air in the fuel line.
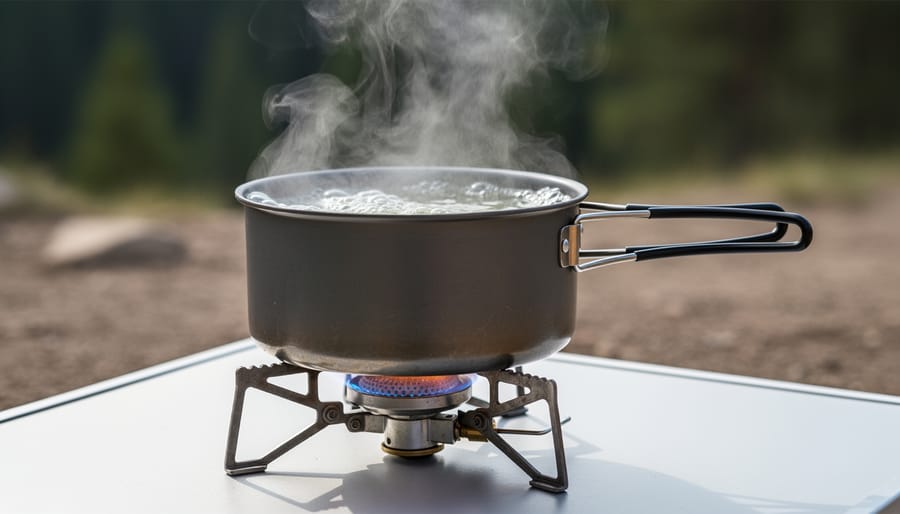
Test heat output by boiling a litre of water and timing the process. If boiling takes significantly longer than the manufacturer’s specifications, you might have a partially blocked jet, low fuel pressure, or a nearly empty canister. Clean the burner jets with the wire tool from your repair kit, checking that tiny holes are fully clear.
Adjust the flame from low simmer to full blast several times. The control valve should move smoothly without sticking, and the flame should respond immediately. Jerky adjustments or delayed response indicate a valve issue that needs addressing.
Finally, practice the complete shutdown sequence. The flame should extinguish cleanly when you close the fuel valve, with no afterburn or gas smell. Any lingering odour means the valve isn’t sealing properly, replace it before your trip rather than gambling with safety.
Common Questions About Camping Stoves
Camping stoves raise practical concerns, especially for first-time users. Here are answers to the most common questions about réchaud maintenance and performance.
How often should I clean my camping stove?
Clean the burner and fuel connections after every 3-5 trips, or immediately if you notice uneven flames or sputtering. Wipe down exterior surfaces after each use to prevent grease buildup that can attract dirt and affect performance.
Does altitude affect stove performance?
Yes, both flame intensity and boiling times decrease at higher elevations due to lower oxygen levels and reduced atmospheric pressure. Expect 10-15% longer cooking times above 2,500 meters, and consider a stove designed for high-altitude use if you regularly camp in mountain environments.
Can I store fuel canisters in my car during summer?
Never store pressurized fuel canisters in hot vehicles. Temperatures above 50°C can cause dangerous pressure buildup and potential rupture. Keep canisters in a cool, ventilated area away from direct sunlight.
How long does a fuel canister typically last?
A standard 230g gas canister provides roughly 90-120 minutes of burn time at full flame, enough for 3-4 days of meals for one person using moderate heat. Actual duration varies with flame intensity, wind conditions, and cookware efficiency.
Between trips, store your réchaud in a dry location with the fuel canister removed. Check O-rings and seals annually for cracks or wear, replacing them if they’ve hardened or lost elasticity. Most stoves are compatible with cookware that has a flat bottom, but oversized pots can create instability on compact burners. Match your pot diameter to the stove’s support arms, keeping weight centered to prevent tipping.
Mastering your réchaud transforms your camping experience from survival mode to genuinely enjoyable outdoor cooking. The core principles are straightforward: choose the right fuel type for your trip, set up on stable ground away from tent walls and flammables, connect fuel sources carefully while checking for leaks, and maintain proper ventilation at all times. Safety isn’t optional. Carbon monoxide accumulation in enclosed spaces kills quickly, and unattended flames can destroy campsites in minutes.
Before your next camping adventure, spend 30 minutes in your backyard running through the complete setup and cooking process. Light the stove, adjust the flame, cook something simple, then shut down properly. This dry run reveals whether you actually know how your fuel canisters connect, whether your windscreen works, and if you packed everything you need. You’ll catch missing pieces at home rather than in a remote campsite after dark.
Your réchaud sits at the intersection of nutrition, comfort, and safety in the wilderness. Get it right, and you’ll enjoy hot meals that fuel your adventures. Treat it casually, and you risk injury or equipment failure when you need it most. Pack smart, cook safe, and eat well out there.