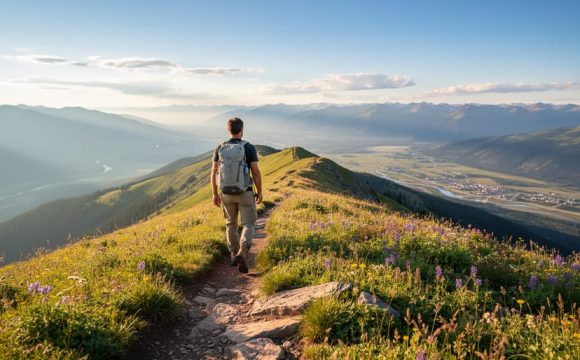
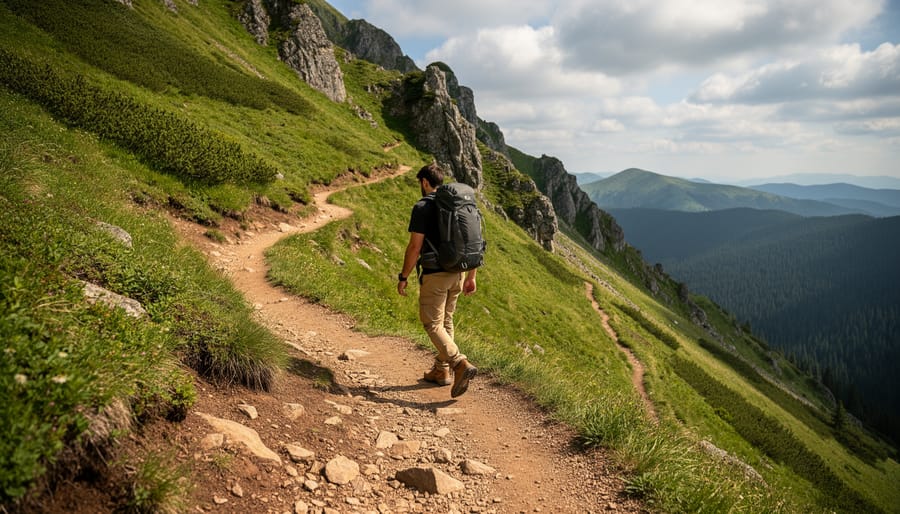

A switchback is a trail feature designed to ease the ascent or descent on steep terrain, creating a zig-zag pattern up a hillside or mountainside. Instead of tackling a brutal, straight-up climb, switchbacks allow you to gain elevation gradually by traversing back and forth across the slope. Think of it as trading distance for comfort and safety.
If you’ve ever looked at a trail map and wondered why the path seems to take the long way around, switchbacks are usually the answer. These engineered turns serve two critical purposes: they make steep grades manageable for hikers of all skill levels, and they prevent the kind of erosion that turns trails into muddy gullies after a few seasons of heavy use. Trail designers build switchbacks to follow the natural contour of the mountain horizontally rather than forcing a punishing vertical route.
Understanding how switchbacks work changes the way you hike them. Many beginners see the zigzag pattern and instinctively want to cut straight up between the turns, thinking they’re saving time. That shortcut mindset actually damages the trail, accelerates erosion, and disrupts the fragile vegetation that holds the hillside together. Proper switchback etiquette means staying on the designated path every time, even when your legs are burning and the summit feels impossibly far away.
This guide breaks down everything you need to know about switchbacks: what they are, how they’re designed, the different types you’ll encounter, and the techniques that make climbing them easier on your body and the environment.
What a Switchback Means on the Trail
A switchback is a zig-zag trail feature that runs horizontally across a mountainside or hillside rather than heading straight up or down the slope. Instead of tackling steep terrain in a direct line, the trail cuts back and forth at regular intervals, creating a series of connected segments that gradually gain or lose elevation. This design makes ascents and descents far more manageable for hikers by spreading the climb over a longer distance.
The key to how switchbacks function lies in their horizontal pattern. Each leg of the trail follows the natural grade of the mountain, maintaining a gentle, consistent slope that your legs can handle comfortably. When the trail reaches a turning point, it reverses direction and continues at roughly the same grade on the next tier up or down. Picture walking up a staircase with very wide, shallow steps, that’s the principle at work.
- Grade
- The steepness or incline of a trail, usually expressed as a percentage. Switchbacks keep grades gentle and sustainable for hikers.
- Traverse
- A horizontal or diagonal section of trail that crosses the face of a slope. Each leg of a switchback is a traverse before the trail turns back.
- Erosion Control
- Trail design strategies that prevent soil loss and degradation. Switchbacks minimize erosion by reducing water runoff speed and foot traffic impact on steep slopes.
Trail designers build switchbacks specifically to prevent erosion and protect fragile mountain ecosystems. A straight route down a steep hill would become a water channel during rain, washing away soil and vegetation. The horizontal pattern of switchbacks slows water flow and distributes the impact of foot traffic across a wider area, keeping the trail stable and the surrounding environment intact for years.
How Switchbacks Work on Steep Terrain
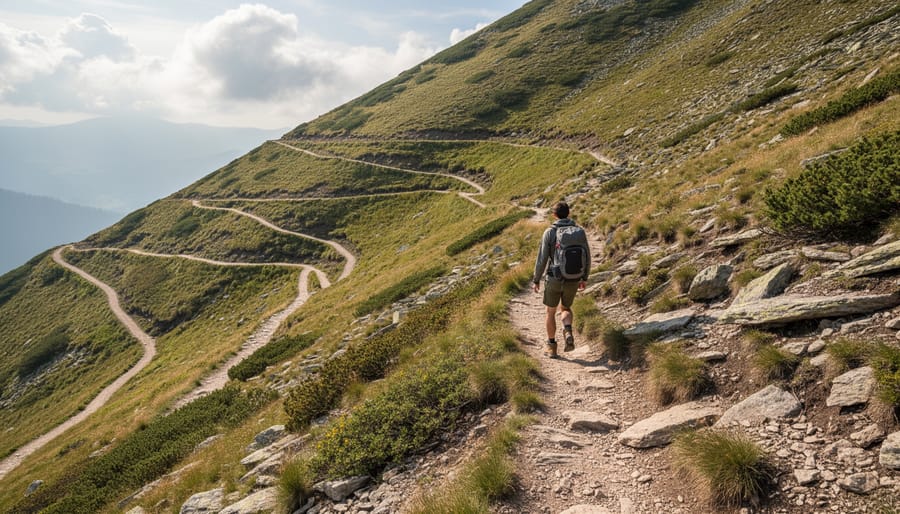
The beauty of switchback design lies in its elegant solution to a fundamental physics problem: steep slopes are exhausting to climb and dangerous to descend. Instead of forcing hikers to battle gravity head-on, switchbacks transform a punishing vertical slog into a manageable series of gradual, horizontal traverses.
Think of it this way, if a mountain face rises 1,000 feet over a horizontal distance of half a mile, a trail heading straight up would create an impossibly steep gradient of around 38 degrees. Your legs would burn out quickly, and erosion would turn the path into a hazardous gully within months. Switchbacks solve this by extending the trail’s horizontal distance. That same 1,000-foot elevation gain might now unfold over two or three miles of zigzagging path, reducing the average grade to a comfortable 8-10 degrees.
The mechanics are straightforward: each leg of a switchback runs roughly parallel to the mountain’s contour lines, maintaining a consistent, gentle slope. When the trail reaches a natural turn point, often dictated by terrain features like rock outcrops or stable ground, it reverses direction and continues traversing at the same manageable angle. This back-and-forth pattern gradually works its way up the slope.
The longer horizontal distance means you’re trading a short, brutal climb for a longer but far easier one. Your cardiovascular system gets steady work instead of oxygen-deprived punishment. Your knees absorb less impact on the way down. The trail surface stays intact because water and foot traffic spread out rather than concentrating in a single erosive channel. Every additional switchback leg makes the climb more sustainable for both hikers and the landscape itself.
Types of Switchback Designs
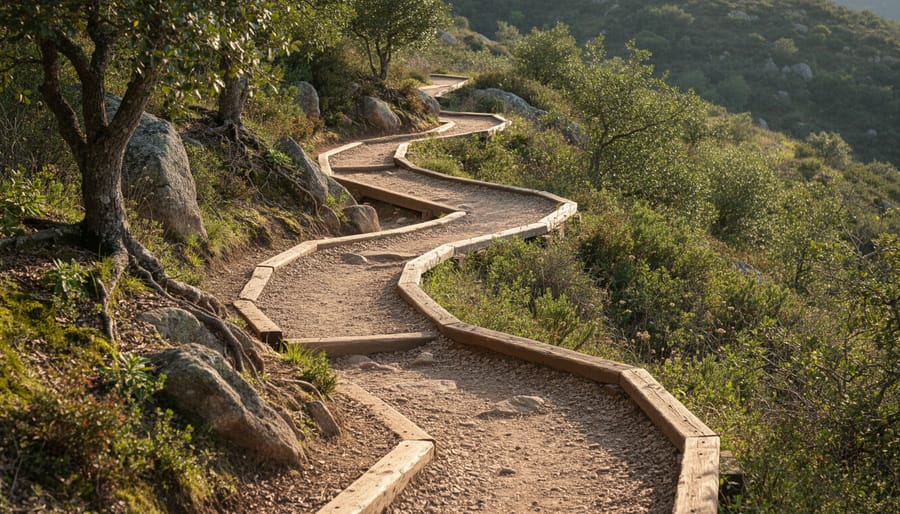
Trail designers choose from several distinct switchback configurations based on the mountain’s slope, the trail’s purpose, and the hikers it will serve. The tightest switchbacks, often called hairpin turns, reverse direction sharply within a short distance, typically on extremely steep terrain where builders need to gain significant elevation quickly. These tight turns demand precise footwork and force hikers to slow down, but they pack the most vertical gain into the smallest horizontal footprint.
Gradual traverses take the opposite approach. They angle across the slope at a gentler grade, creating long diagonal segments before reversing direction. You’ll find these on trails designed for heavy use or multi-use paths where mountain bikers and equestrians share the route alongside hikers. The wider turning radius accommodates different user groups and feels less abrupt underfoot.
Trail width also varies considerably:
- Single-track switchbacks follow a narrow footpath barely wider than your boots, common on backcountry routes
- Wide-trail switchbacks offer several feet of tread width, built for high-traffic areas or trails accommodating wheelchairs and strollers
- Reinforced switchbacks include rock walls, timber cribbing, or stone steps to stabilize the turn on loose or eroding slopes
- Natural switchbacks use existing terrain features like rock outcrops or tree clusters to anchor turn points
Terrain dictates much of the design. Rocky slopes might require fewer switchbacks with steeper grades between turns because the solid substrate resists erosion. Soil-based mountainsides need gentler angles and more frequent reversals to prevent water from cutting channels down the trail face. Trail builders also consider the destination, summit routes often feature tighter switchbacks near the top where space narrows, while valley approaches might spread turns across broader slopes.
Where and When Switchbacks Are Used
Trail designers incorporate switchbacks whenever a route must traverse terrain steeper than about 10-15% grade. You’ll encounter them most frequently on mountain ascents, canyon descents, and hillside trails where the natural topography demands significant elevation change over a relatively short horizontal distance. Rather than forcing hikers up a dangerously steep, direct path, switchbacks create a practical climbing route that anyone with moderate fitness can manage.
These trail features serve multiple critical functions beyond simple accessibility. On fragile alpine ecosystems and desert hillsides, switchbacks concentrate foot traffic along a designed path, preventing the spread of social trails that would otherwise scar vegetation and destabilize soil across a wider area. The engineered turns channel water runoff in controlled ways, reducing the gully erosion that destroys straight-line trails during rainstorms. Trail crews position switchbacks to work with the land’s natural drainage patterns, not against them.
Parks and wilderness managers rely on switchbacks to create sustainable routes in areas that would otherwise be off-limits or rapidly deteriorate under hiking pressure. A well-designed switchback system can last decades with minimal maintenance, whereas a steep, direct trail might wash out within seasons. You’ll find switchbacks on everything from day-hike trails in national parks to remote backcountry routes, anywhere the topography demands it.
The decision to build switchbacks comes down to terrain assessment. If a slope exceeds what hikers can safely climb directly, or if a straight route would cause unacceptable environmental damage, trail designers map out a switchback pattern that balances hiking efficiency with long-term trail integrity.
Why You Should Never Cut Switchbacks
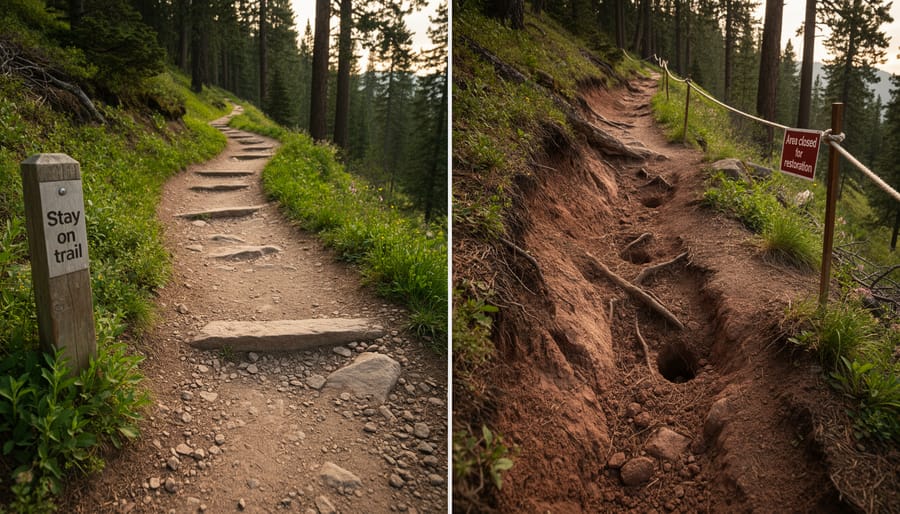
Cutting switchbacks ranks among the most harmful actions a hiker can take on the trail. When you step off the designated path to take a shortcut straight up or down a slope, you are not just bending a rule, you are actively destroying the trail and putting yourself at risk.
The environmental damage happens immediately. Each shortcut creates a new erosion channel where water can rush downhill, carving deeper gullies with every rainstorm. These shortcuts strip away protective vegetation and topsoil that took years to establish, leaving bare dirt that washes away and undermines the main trail. Trail designers built those switchbacks specifically to minimize erosion as much as possible by controlling where foot traffic goes. Your shortcut unravels that careful work.
Fragile alpine and subalpine ecosystems suffer particularly severe harm. Plants growing at high elevations often take decades to mature, and a single season of hikers trampling across a shortcut can destroy vegetation that won’t recover in your lifetime. These damaged areas expand outward as more hikers follow the illicit path, compounding the destruction.
The safety risks are equally serious. Shortcut routes bypass the engineered trail surface, forcing you across loose scree, unstable soil, or steep grades where a slip can send you tumbling. The trail was designed to run horizontally following the grade of the mountain rather than going straight up or down precisely because direct ascents and descents are harder to navigate and more dangerous.
Stay on the switchbacks. The few minutes you think you’ll save are not worth the lasting damage you’ll cause.
Hiking Switchbacks Safely and Efficiently
Tackling switchback trails demands a different approach than straight-path hiking. Start with a steady, sustainable pace, rushing the climb burns energy fast and increases your risk of stumbling on tight turns. When you plan your hiking trip account for the longer distance switchbacks add; a trail that gains 1,000 feet might stretch two or three times further than a direct route.
Before heading out, check trail conditions and review your map. Parks Canada emphasizes that hikers must be self-sufficient for safety even in emergencies. Bring a compass and paper map for backcountry routes, because GPS may be unreliable where cell service drops. These basic safety tips become critical on remote switchback trails.
For the trail itself, follow these practical strategies:
- Approach hairpin turns wide, then cut tight on the inside to maintain balance and momentum.
- Shorten your stride on steep sections to reduce strain on your knees and ankles.
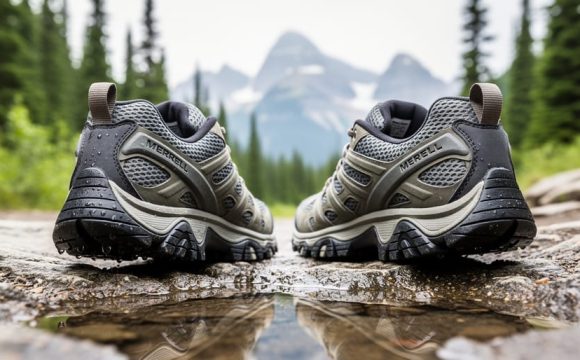
- Choose hiking shoes with solid ankle support and aggressive tread for stability on loose terrain.
- Use trekking poles to distribute effort across your upper body and improve balance on tight corners.
- Stay on the designated path, shortcuts accelerate erosion and undermine the trail’s design.
If you’re unfamiliar with a particular trail’s layout, a detailed hike walkthrough can clarify what to expect. Pay attention to your body’s signals: switchbacks work because they ease the grade, but that longer distance still accumulates fatigue. Take breaks when needed, stay hydrated, and remember that respecting the trail’s design keeps both you and the ecosystem safe.
Common Questions About Switchbacks
What is a switchback?
A switchback is a trail feature designed to ease the ascent or descent on steep terrain by creating a zig-zag pattern up a hillside or mountainside. The trail runs horizontally following the grade of the mountain rather than going straight up or down, making steep climbs manageable.
Why do trails have switchbacks?
Trails use switchbacks to make it easier to hike steep grades while minimizing erosion as much as possible. They distribute elevation gain over a longer horizontal distance, protecting both hikers and fragile ecosystems from the damage that direct ascent routes would cause.
Why should you not take shortcuts on switchbacks?
Taking shortcuts across switchbacks causes erosion, damages fragile areas the trail was designed to protect, and creates dangerous steep paths. Hikers should stick to the designated trail to preserve the route and maintain safety.
How should hikers prepare for a hike with switchbacks?
Check trail conditions and the map before heading out, and bring navigation tools for backcountry routes. Don’t rely solely on your phone’s GPS since cell service is limited in many places, and remember you’re responsible for your own safety and need to be self-sufficient at all times.
These questions come up repeatedly on the trail because switchbacks feel counterintuitive to hikers who want the shortest route to the summit. Understanding the answers helps you appreciate why that longer, winding path exists and why respecting it matters for everyone who’ll hike that trail after you.
Understanding switchbacks transforms them from simple trail quirks into purposeful design elements that make hiking safer and more sustainable. These zig-zag features aren’t obstacles to overcome, they’re carefully planned solutions that balance accessibility with conservation. When you follow switchbacks as intended, you’re protecting the trail for future hikers while making your own journey more manageable. Cutting across them might save a few steps, but it undoes years of thoughtful trail work and damages fragile ecosystems. Next time you encounter switchbacks on a steep climb, appreciate the engineering that went into creating a sustainable path up the mountain. Respecting trail design means better hiking experiences for everyone and healthier trails for generations to come.