
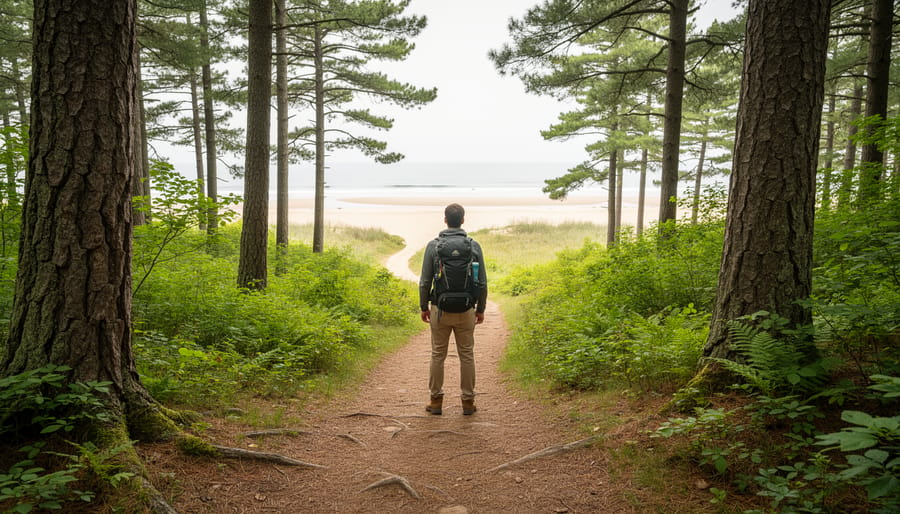

Wolf Trail, also known as Trail 62 or Blanchet Trail, delivers a satisfying 5.4-mile loop hike with 980 feet of elevation gain in 2.5 to 3 hours. This moderate trail begins at parking lot P13 beside Blanchet Beach and kicks off with a short out-and-back section before completing its loop, making it an excellent option for hikers ready to move beyond easy terrain without committing to a technical scramble.
The triple naming can throw first-timers off when cross-checking maps and signage, but all three names refer to the same route. What makes this trail popular is its manageable challenge level. You’ll get a genuine workout and meaningful elevation without needing advanced navigation skills or specialized climbing gear. The moderate rating reflects real terrain variety, so don’t underestimate the need for proper footwear and hydration.
Success on Wolf Trail depends on three things: starting at the correct trailhead, packing the right gear for the distance and elevation, and understanding the route’s unique out-and-back opening that transitions into the main loop. This guide walks you through each step, from pre-hike preparation to post-hike verification that you’ve completed the full route. Whether you’re testing your fitness for longer hikes or simply want a half-day adventure, Wolf Trail provides a solid benchmark for what moderate hiking truly means.
What You Need Before You Start
You’ll spend 2.5 to 3 hours covering 5.4 miles with 980 feet of climbing, so bring the essentials that keep you safe and comfortable without weighing you down. Wolf Trail’s moderate rating means you don’t need expedition gear, but skipping the basics can turn a good hike into a rough one.
Start with proper footwear. The best hiking boots for this trail provide ankle support and grippy soles that handle moderate climbs and descents. Broken-in trail runners work if you have strong ankles and prefer lighter weight, but avoid casual sneakers that lack tread.
Bring two liters of water minimum. You’ll sweat through the 980-foot elevation gain, especially if you’re pushing a faster pace to hit that 2.5-hour mark. A hydration bladder or two water bottles both work. Add a few hundred calories in trail snacks, energy bars, nuts, dried fruit, to maintain your energy without stopping for long breaks.
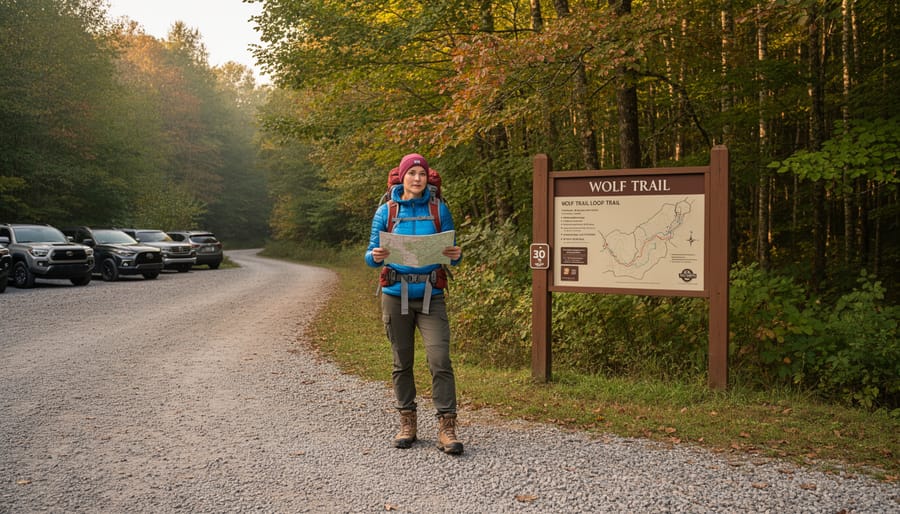
Navigation matters even on well-marked trails. Download an offline map to your phone before you leave, since cell service can drop in forested areas. A paper map of Gatineau Park serves as backup. The trail loops back to parking lot P13, but having a reference prevents wrong turns at unmarked junctions.
- Essential: Hiking boots or trail runners with good tread and ankle support
- Essential: Two liters of water in bottles or a hydration bladder
- Essential: Offline trail map downloaded to your phone
- Essential: High-calorie snacks like energy bars or trail mix
- Recommended: Trekking poles for steep sections and knee relief on descents
- Recommended: Moisture-wicking base layer and a lightweight jacket for temperature shifts
- Recommended: Hiking cap or sunglasses for sun protection on exposed sections
- Recommended: Basic first-aid kit with bandages and blister treatment
Layer your clothing for changing conditions. A moisture-wicking base layer and a lightweight insulating layer let you adjust as you warm up on climbs and cool down at rest stops. Toss a packable rain jacket in your daypack, weather shifts fast, and staying dry prevents misery.
Pack a small first-aid kit with bandages, antiseptic wipes, and blister treatment. You probably won’t need it, but blisters at mile three ruin the final stretch. Trekking poles reduce knee strain on the descents and give you extra stability on uneven ground, though they’re optional if your knees handle moderate terrain well. When you plan your hiking trip check your gear the night before so you’re not scrambling at the trailhead.
Safety Checks and Trail Conditions
Check the weather forecast before you leave home. A moderate trail with 980 ft of climbing becomes considerably harder in rain, high winds, or unexpected temperature drops. If storms are forecast during your planned 2.5-3 hour window, reschedule. You can always hike Wolf Trail another day, but you can’t undo an injury or exposure incident on a slick trail far from the trailhead.
Assess your fitness honestly. This isn’t a casual walk, the moderate rating assumes you can comfortably handle sustained uphill sections over 5.4 miles. If you haven’t hiked in months or struggle with stairs, choose a shorter trail first. You’ll enjoy Wolf Trail more when you’re ready for it.
Hiking solo versus with a group changes your risk profile. Solo hikers should tell someone their plan, including your expected return time and the P13 trailhead location. Carry a fully charged phone even if service is spotty. Groups offer built-in support if someone twists an ankle or needs to slow down, but they also require coordination, agree on turnaround times before you start, not when someone’s struggling halfway through.
Give yourself buffer time. If you’re a slower hiker or stopping frequently for photos, plan for closer to three hours rather than 2.5. Starting late in the day with tight daylight margins adds unnecessary pressure on a moderate trail where pacing matters.
Step-by-Step: Hiking Wolf Trail from Start to Finish
Step 1: Find the Trailhead at Parking Lot P13
Parking lot P13 is located directly beside Blanchet Beach on Meech Lake in Gatineau Park. If you’re driving, you’ll take Gatineau Parkway and look for the clearly marked P13 turnoff, the lot sits right at the lakeshore, so you can’t miss the water view when you pull in.
Park in any available spot in P13. The lot fills up on weekends during peak season, so arrive early if possible. The trailhead isn’t inside the parking area itself, you’ll need to walk toward the lake and look for trail markers near the beach access.
The Wolf Trail trailhead starts right at the edge of parking lot P13, adjacent to where the beach meets the tree line. Look for wooden trail signs or posts marking the route. The trail may be labeled as “Blanchet Trail” or “Trail 62” on the signage, but all three names refer to this same starting point.
Before you head out, take a moment to note landmarks around P13, the beach, the parking lot layout, and any distinctive features. You’ll return to this exact spot after completing the 5.4-mile loop, and having mental markers makes the endpoint easier to recognize when you’re tired.
Step 2: Navigate the Out-and-Back Opening
After leaving the P13 parking area, you’ll walk a short, straight section before the trail opens into its main loop. This out-and-back segment typically runs a few hundred feet and serves as your warm-up, relatively flat terrain that lets you settle into your pace and test your footing.
Watch for the point where the path widens or splits. You’ll see trail markers indicating the loop junction, often a small sign noting “Blanchet Trail” or “Trail 62.” This is where you choose your loop direction. Most hikers go clockwise, but either works since you’ll complete the full circuit.
Pay attention to this junction’s appearance on your way in, you’ll return to this exact spot to close the loop later. A quick photo or mental note of distinctive trees or rocks helps you recognize it on the way back. The transition is clear, but early in a hike when you’re still orienting yourself, it’s easy to second-guess your position. Trust the signage and keep moving forward once you’ve chosen your direction.
Step 3: Complete the Main Loop
Once you’re on the loop, you’ll follow the marked path for the bulk of your hike. Keep your eyes on the trail markers, they may read “Blanchet Trail” rather than Wolf Trail or Trail 62, but you’re on the right route. The signage can be inconsistent, so don’t second-guess yourself if the name changes from post to post.
The loop covers most of the 5.4 miles, so settle into a steady rhythm. For the 980 ft of elevation gain, expect gradual climbs mixed with flatter stretches and descents. You won’t be grinding uphill continuously, but you’ll notice the work in your legs. Most hikers maintain a 2-3 mph pace on moderate terrain, which puts the full loop at that 2.5-3 hour mark.
Pay attention to junctions and stay on the main trail. If you hit a fork without clear signage, look for the most worn path and any trail markers you passed earlier. Blazes or small signs should keep you oriented, but trust your navigation tools if you’re unsure. The loop will eventually bring you back toward the starting area, so if you’re making consistent forward progress and not retracing steps, you’re likely on track.
Step 4: Manage Elevation and Terrain
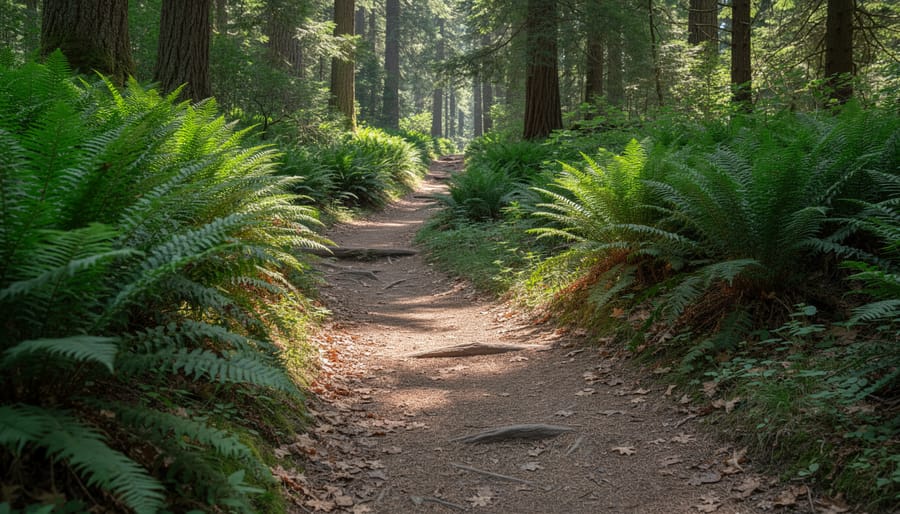
The 980 feet of elevation gain spreads across the 5.4-mile route, not one brutal climb. Expect rolling terrain with gradual ascents and descents rather than steep, sustained pushes. This distribution makes the moderate rating accurate, it’s harder than a flat walk but manageable if you pace yourself and stay consistent.
Break the elevation into mental segments. When you hit an uphill stretch, shorten your stride and slow your pace slightly rather than attacking it at your flat-ground speed. This preserves energy over the full 2.5-3 hours. Breathing comfortably enough to hold a conversation is the right intensity; if you’re gasping, you’re working too hard too early.
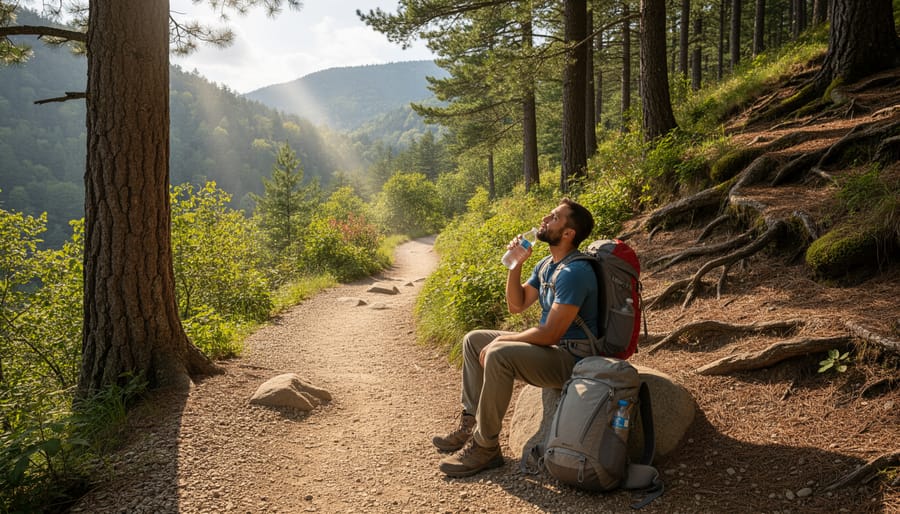
Take brief standing breaks every 30-40 minutes, not just when you’re tired. Drink water, eat a snack if you brought one, and check your time. These micro-rests prevent the cumulative fatigue that hits harder in the final third of the hike. On descents, control your speed to avoid pounding your knees and burning out your quads, you’ll still need those muscles for any remaining climbs.
Watch your footing more carefully when tired. Fatigue reduces stability, and the moderate rating assumes you’re navigating uneven ground safely throughout. If your legs feel heavy or coordination slips, pause for a full minute rather than pushing through. The goal is finishing strong, not racing the clock.
Step 5: Return to the Trailhead
As you complete the main loop, you’ll begin recognizing landmarks from your outbound journey, signaling you’re closing the circle. The trail will guide you back to the junction where the loop portion began, reconnecting with the short out-and-back segment you hiked at the start.
Once you reach this junction, retrace your steps along the same out-and-back path toward parking lot P13. This final stretch should feel familiar, same terrain, same markers, but now you’re moving in the opposite direction. If you passed any distinctive trees, rocks, or trail intersections on your way in, watch for them again. Seeing these features confirms you’re heading the right way.
The out-and-back section is brief, so you’ll reach P13 within minutes of leaving the loop junction. As you approach the trailhead, you’ll spot Blanchet Beach and the parking area where you started. Your vehicle (or the cars you noted earlier) will come into view, and the formal trail markers at the trailhead will signal the official endpoint.
Check your watch and odometer when you arrive. If you’ve covered roughly 5.4 miles and finished within 2.5 to 3 hours, you’ve completed Wolf Trail as intended. Take a moment at the car to stretch, hydrate, and note how your body feels, this feedback helps you gauge your readiness for future moderate hikes.
How to Know You’ve Done It Right
You’ll know you completed Wolf Trail correctly when you arrive back at parking lot P13 beside Blanchet Beach. This is your primary confirmation, the loop brings you full circle to where you started. Check your watch: if you’ve been moving for 2.5 to 3 hours, you’re right in the expected window for this moderate trail. Faster times suggest you pushed hard or skipped breaks; longer durations might mean you took extra rest stops or got turned around briefly.
Your tracking app or GPS watch should show close to 5.4 miles. Some variance is normal, trail winding and GPS drift mean you might see 5.2 to 5.6 miles, but anything significantly outside that range warrants a second look at your route. The same goes for elevation: you should see roughly 980 feet of total gain recorded. These numbers together confirm you stayed on the marked path rather than wandering onto intersecting trails.
Here’s what to verify before you leave the trailhead:
- You’re back at parking lot P13 where you started
- Your distance tracker shows 5.2-5.6 miles covered
- Your elapsed time falls between 2.5 and 3 hours of movement
- Your elevation gain reads around 980 feet
Log these details in your hiking journal or app while they’re fresh. Note how the moderate rating felt for your current fitness level, which sections challenged you most, and whether you’d adjust your gear or pacing next time. This self-assessment builds better judgment for tackling similar trails and helps you prepare friends or family if they ask about Wolf Trail’s difficulty. If your numbers match and you’re standing at P13, you’ve hiked it correctly.
Common Questions About Wolf Trail
Why does Wolf Trail have so many different names?
The trail is officially designated as Trail 62 and marked as Blanchet Trail on many signs, but locals and hikers commonly call it Wolf Trail. All three names refer to the same 5.4-mile route starting from parking lot P13.
What does “moderate difficulty” actually mean for Wolf Trail?
Moderate means you’ll handle 980 feet of elevation gain over 5.4 miles, requiring steady effort but not technical climbing skills. Most hikers in average shape complete it in 2.5 to 3 hours with short breaks.
Is Wolf Trail suitable for my first real hike?
Yes, if you can walk comfortably for three hours and handle gradual uphill sections. The well-marked loop design makes navigation straightforward, and the moderate rating sits right at the threshold between easy and challenging terrain.
Should I hike Wolf Trail alone or with a group?
Either works for this trail. Solo hikers appreciate the clear markers and steady foot traffic during daylight hours, while groups enjoy the manageable pace that accommodates different fitness levels without requiring technical coordination.
First-timers often worry about getting lost given the naming confusion, but once you’re on the path from P13, the route stays consistent regardless of which name appears on signs. Focus on the trail markers themselves rather than memorizing all three names.
The 2.5 to 3 hour estimate assumes a steady pace with brief stops for water and photos. If you’re testing your fitness or hiking with less experienced companions, budget closer to four hours. Pushing to finish faster than your comfortable pace defeats the purpose of a moderate trail designed for enjoyment rather than endurance.
Pack the essentials covered earlier even if you’re attempting a shorter, easier route first. Wolf Trail’s moderate difficulty means conditions can shift during your hike, and having proper gear builds confidence for tackling more hiking spots once you’ve completed this one. The 980 feet of elevation gain teaches you how your body responds to sustained climbing without overwhelming you on your first attempt.
Wolf Trail delivers a solid moderate challenge once you know what to expect. You’ll park at lot P13, navigate that short out-and-back opener, then commit to the 5.4-mile loop with its 980 ft of climbing. Budget 2.5 to 3 hours, bring the right gear, and respect the elevation gain even though it’s spread across the route.
If you found this hike manageable, you’re ready for similar moderate loops in Gatineau Park. Consider logging your completion time and how you felt on the climbs so you can gauge your fitness progression. The skills you practiced here, pacing yourself through sustained elevation, following trail markers, and managing energy over several hours, transfer directly to longer or steeper routes.
Get out there prepared, stay aware of your limits, and enjoy what Wolf Trail has to offer.